Random
Swarm
May 19, 2019

Blink and you’ll miss it
April 26, 2019
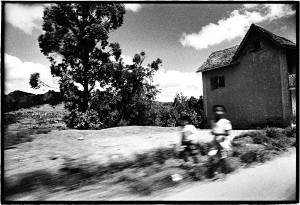
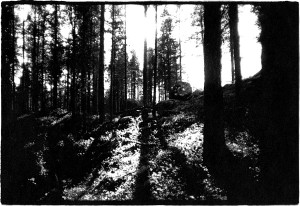
Under the Stars in Madagascar
January 28, 2019
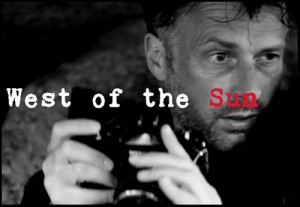
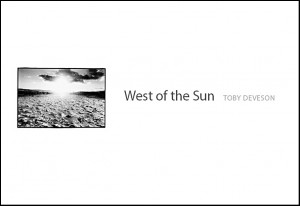
West of the Sun trailer
March 19, 2018
No Strings Attached
February 15, 2018
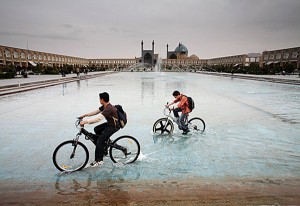
Knee Deep in Prayer
January 11, 2018
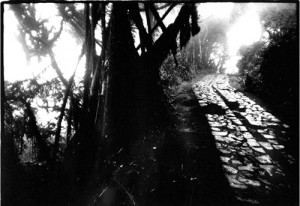
The Path Less Travelled?
October 3, 2017
She Flirts With You
September 3, 2017
Alter Egos in the Dunes
June 2, 2017
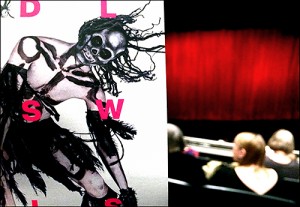
Rambert’s Ghost dance at Saddler’s Wells Theatre
May 18, 2017
West of the Sun by Bobby Dunn
April 27, 2017
Koudelka – Shooting Holy Land
February 27, 2017
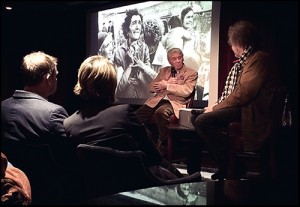
Don McCullin at The Arts Club
November 11, 2016
The Rooftop Collective Edition V
November 7, 2016

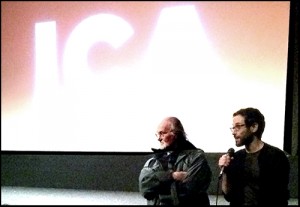
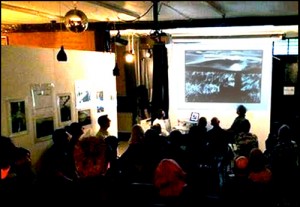
Screening of ‘From Dark to Light’ with Q&A
November 5, 2016
Trailer for the crowdfunding campaign
September 25, 2016
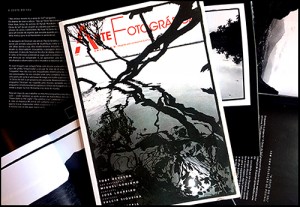
Arte Fotográfica #81
July 1, 2016
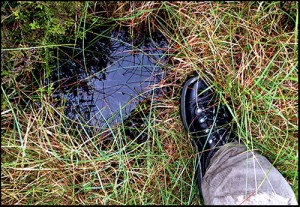
Putting Your Foot In It
June 3, 2016
Zen and the Art of Midge Maintenance
May 24, 2016
Dancers in the mist
May 24, 2016
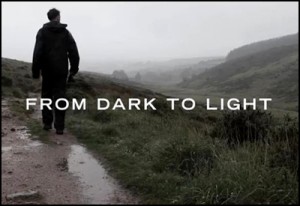
From Dark to Light
April 9, 2016
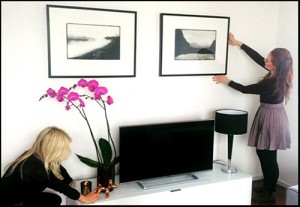
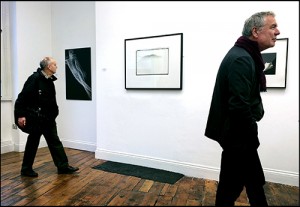
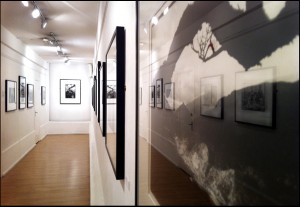
Photographing Photographs
March 20, 2016
His Savage Eyes
November 11, 2015
In Collaboration with Annamarie Dzendrowskyj
November 10, 2015
To the West of the Sun
October 20, 2015
West of the Sun: Exhibition in Cambridge
September 12, 2014
Toby Deveson on Social Media
August 15, 2014
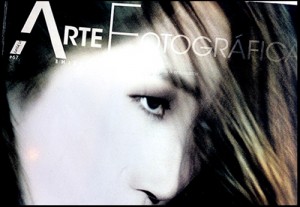
Arte Fotográfica #67
July 1, 2014
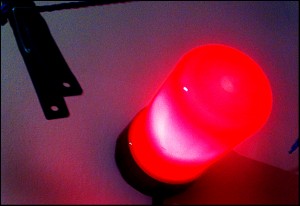
The Red Light District: Blog 2nd June 2014
June 2, 2014
West of the Sun: Quotes
April 20, 2014
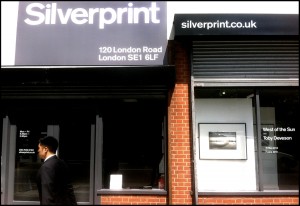
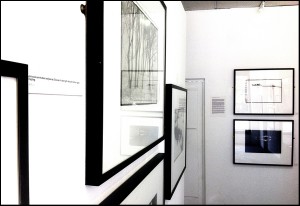
West of the Sun: Exhibition at Silverprint
April 19, 2014

West of the Sun: Story Telling
November 28, 2013
The other side
June 10, 2013
Ablutions on the Giant’s Causeway
May 8, 2013
Wild swimming in Romania
May 3, 2013
Barbara Wace: Family friend and inspiration
March 24, 2013
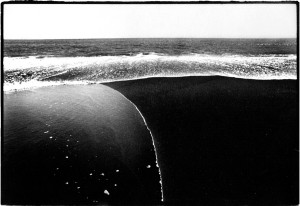
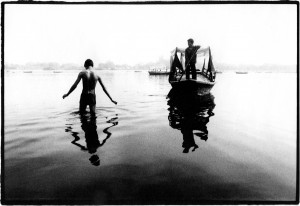
There were stars in the sea
February 23, 2013

Skills, Smells and Spells: Press
February 22, 2013
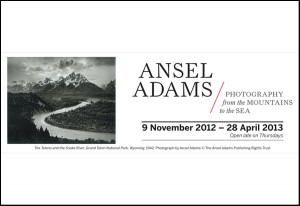
Ansel Adams at the National Maritime Museum
February 21, 2013
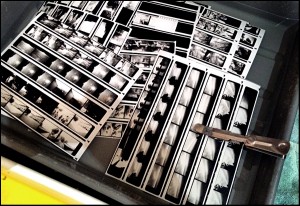
Contact sheets: A necessary evil
February 7, 2013
Be Smart About Art – A timely intervention
January 22, 2013
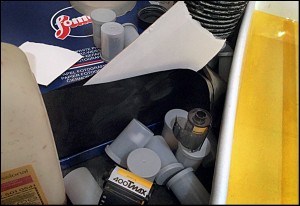
The Red Light District: Digital vs Analogue
November 29, 2012
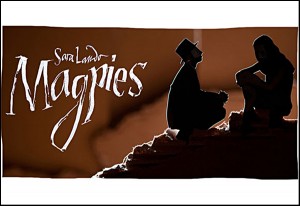
Magpies by Sara Lando
November 1, 2012
Interview with Amateur Photographer Magazine
June 9, 2012
Welcome
June 6, 2012
The Photographic Print
June 5, 2012
Skills, Smells and Spells: The Landscapes
June 3, 2012
The Red Light District: A Blog On Celebration, Not Resentment
February 3, 2012
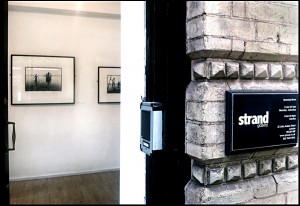
Exhibition at the Strand Gallery from 28-05-12
January 20, 2012
Article on BBC website about Kodak moments
January 19, 2012
Creativity born of both impatience and technology
January 18, 2012
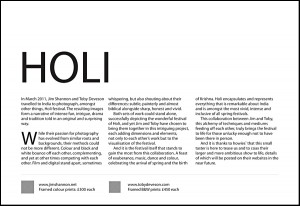
Holi Hunters by Jim Shannon in Sidetracked
January 17, 2012
The Red Light District: A Blog on the Possible Demise of Kodak
January 5, 2012
Copy used at Howies Carnaby street exhibition
September 3, 2011

An exhibition in London’s Carnaby Street
August 19, 2011
Choreographed Papal baby blessings
May 24, 2011
The shitting fields
April 21, 2011
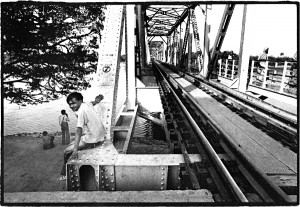
Bridge over the River Yamuna
April 20, 2011
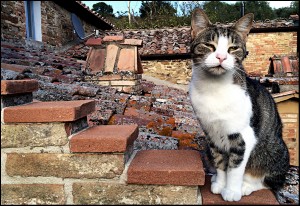
Where have all the cats gone
April 10, 2011

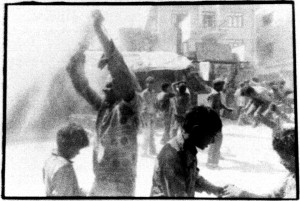
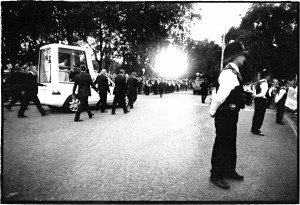
Parading through a warzone
April 8, 2011
Stereotypical rivers
April 7, 2011
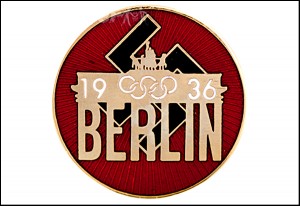
The Olympic Games in Berlin 1938 – by Barbara Wace
March 22, 2011
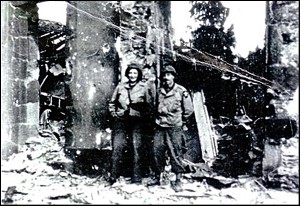
Luck led to Normandy – by Barbara Wace
March 16, 2011
Barbara Wace by David Deveson
March 3, 2011
The Red Light District: Preparing for India 03/11
March 2, 2011
Revolution in the air
March 1, 2011
Photography and smells
February 28, 2011
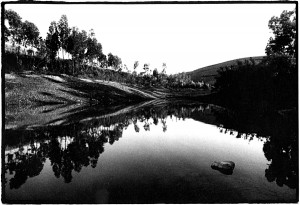
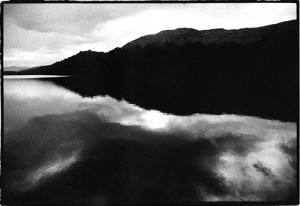
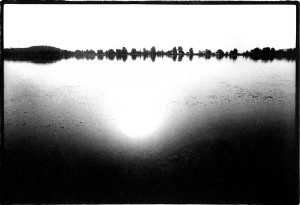
Portuguese lakes at sunrise
October 20, 2010
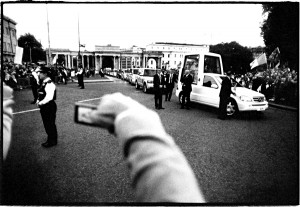
The Papal visit to London – September 2010
October 15, 2010
Failed trips or the art of flexibility
September 16, 2010
West of the Sun – Essay by Jim Shannon
August 22, 2010
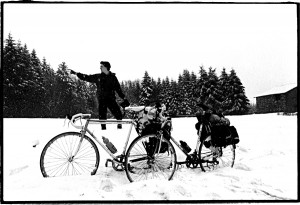
In Sweden without a camera
August 5, 2010
Jim Shannon: Competition Winner
August 3, 2010
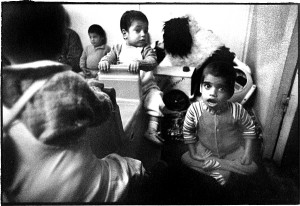
Child’s i Foundation
July 8, 2010
They are no longer alive
June 25, 2010
Sally Mann at the Photographers’ Gallery
June 19, 2010
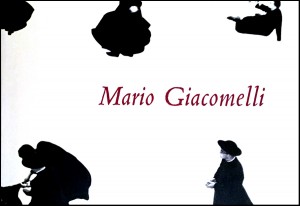
Mario Giacomelli
June 15, 2010
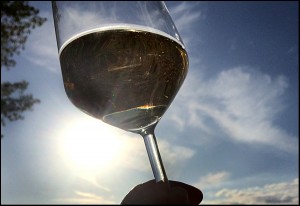
Summer Evenings in the Pub
June 2, 2010
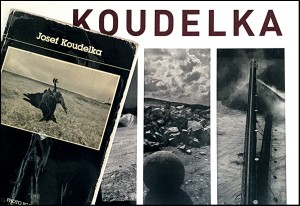
Josef Koudelka
May 23, 2010